Week 6
The past week was a very productive one. Our main notes from our last critique were that the bedding was feeling very heavy both in the simulation and in the materials. The mentors also asked to see look-dev and lighting renders for both shots 1 and 2 and to make the lighting more “punchy” in general throughout the spot. Going into week 6 we have been asked to reach 70% completion of the commercial, meaning st this point most of our remaining work should be tweaks. On top of this we were also asked to choose both a “hero” shot and a “sub-hero” shot to focus on during the week. As a team we agreed on shot 7 as or hero shot and shot 1 as our sub hero.
This past week renders were starting to come through with AOVs so I could finally begin compositing! My main focus for comp this week was rebuilding the shaders and adding depth of field. Some of the shots are rendered in Karma while others are rendered in Arnold so the exact passes changed from shot to shot, but the core principle was mostly the same. One major difference I encountered was that the renders from Maya (Arnold) use Aces version 1.2 while our Houdini (Karma) renders use version 1.3. This is not the biggest deal because I can just set my nuke project for each shot to the respective version and then convert later in the edit to unify the color space.
For AOVs I asked for render passes of the diffuse, specular (glossy in karma), and subsurface as well as depth, position, and normal passes for some extra control in comp.
Simple setup for Karma shader rebuild. Subsurface pass was missed in this render so I manually separated it for control.
Arnold shader rebuild
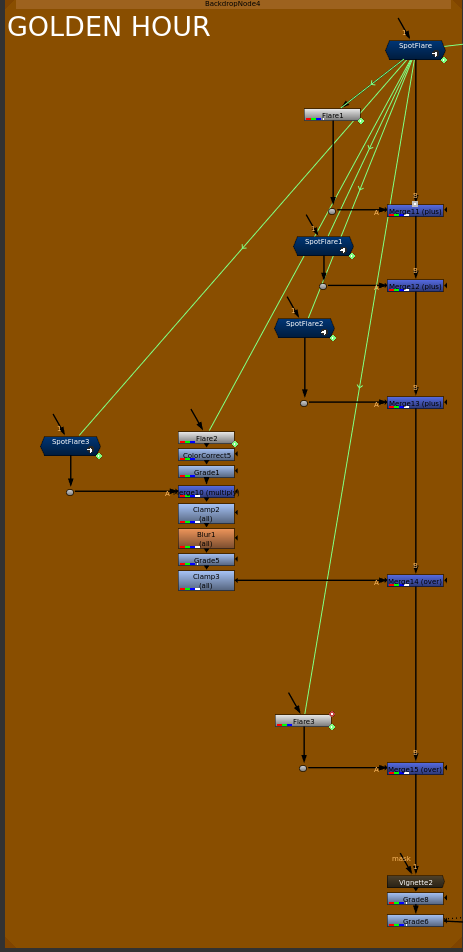
Something that Kyle has brought up the past few critiques is the idea of adding in some sort of light flare or leak from outside of the window in shot 7 that fades out as the camera moves. I am definitely excited about this idea as it aligns with some of the test I have been doing for my senior thesis film (read more about it HERE), but am cautious about because I understand the complexity of flares and how quickly they can become overdone. Below is the script I created to build out the flare piece by piece. and the result it creates. The position and animation offset for the elements is all driven procedurally using a reconcile3D node and a null placed in 3d space (camera exported from Maya).

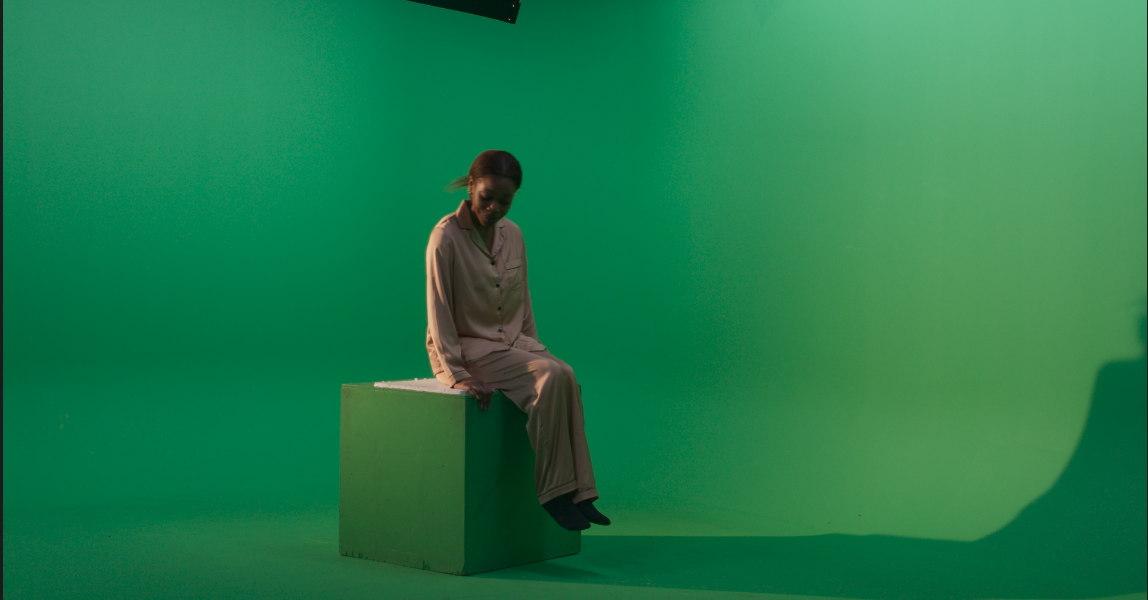
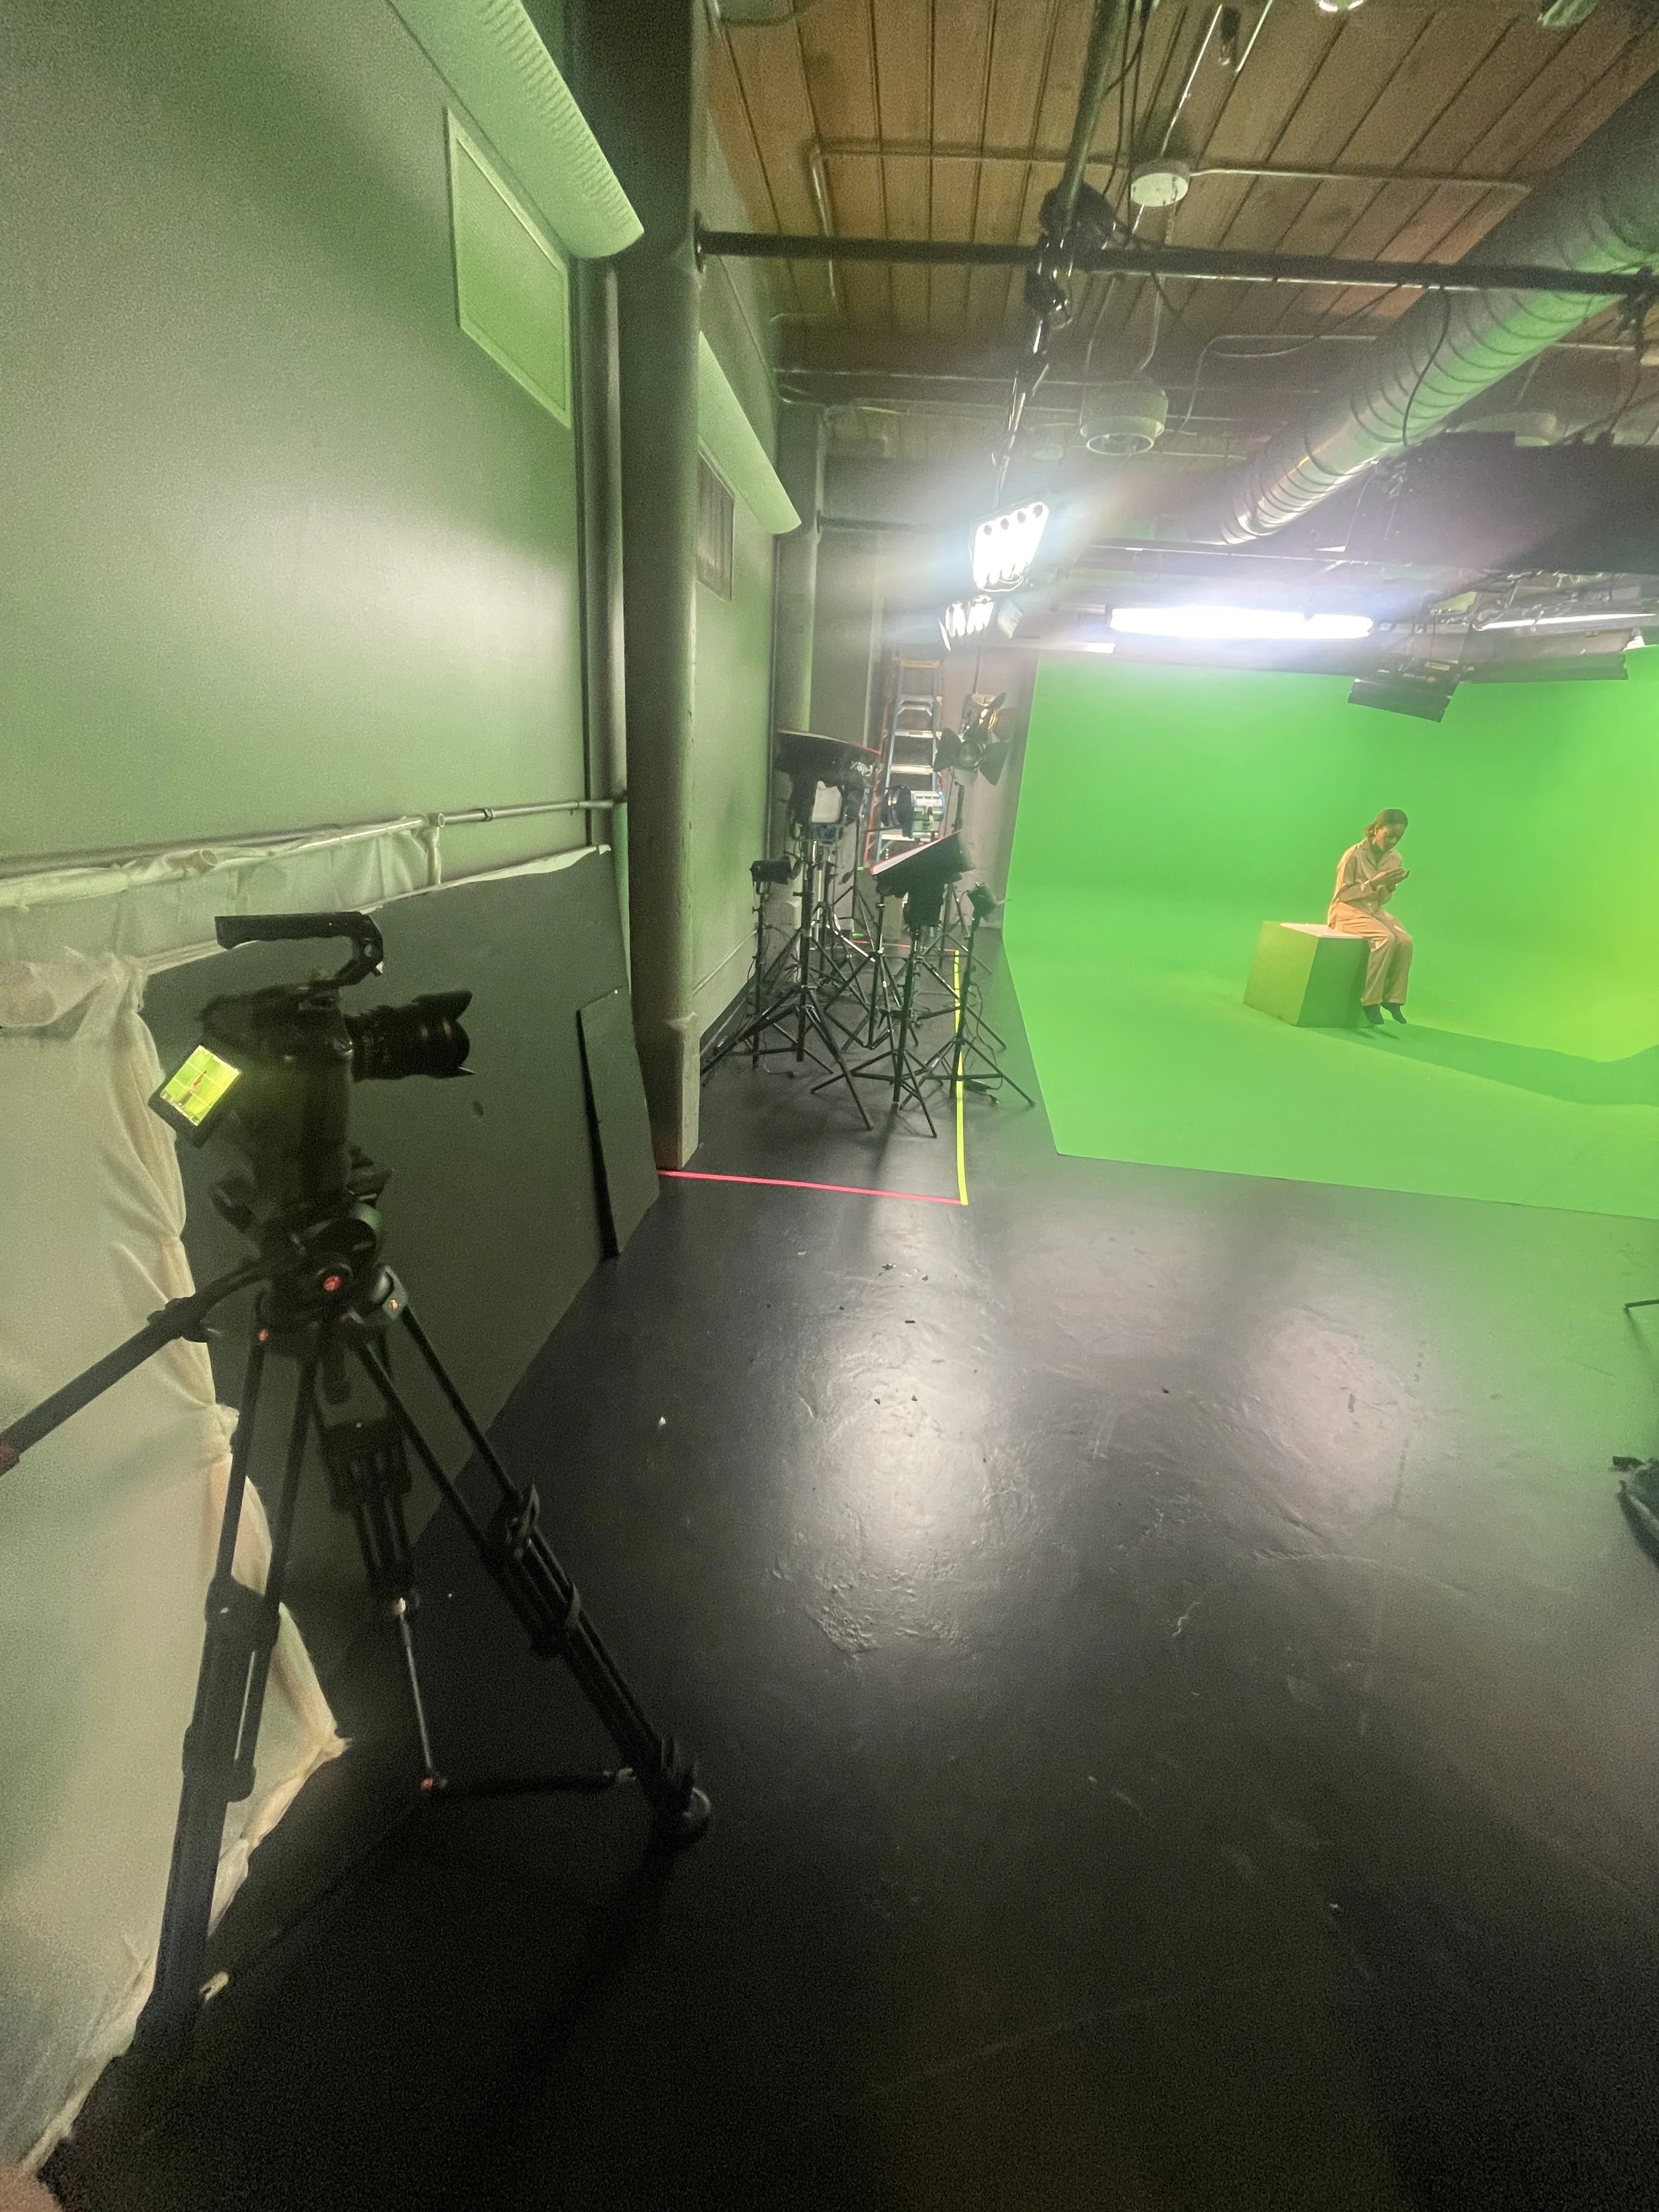
This past weekend we were able to complete our live action shoot! I want to be able to re-frame the actual footage a little later in comp so I ended up shooting a little wider then the actual shot and was more focused on lighting and action. I also made sure to shoot in raw so that I have more control over the ISO and white balance later down the line if needed.