Week 7
We are getting very close to the end and I am growing more and more excited by our progress overall.
Our notes from the mentors last week were largely editorial, mainly focusing on the flow of each shot and making in tighter. I am typically in charge of the edit for the team, but to change things up this week Mia made a version of the edit that I believe addresses areas that I was starting to become blind to. Additionally we were able to lock frame ranges, which now saves us from having to render frames that will likely get cut and have a first pass from sound!
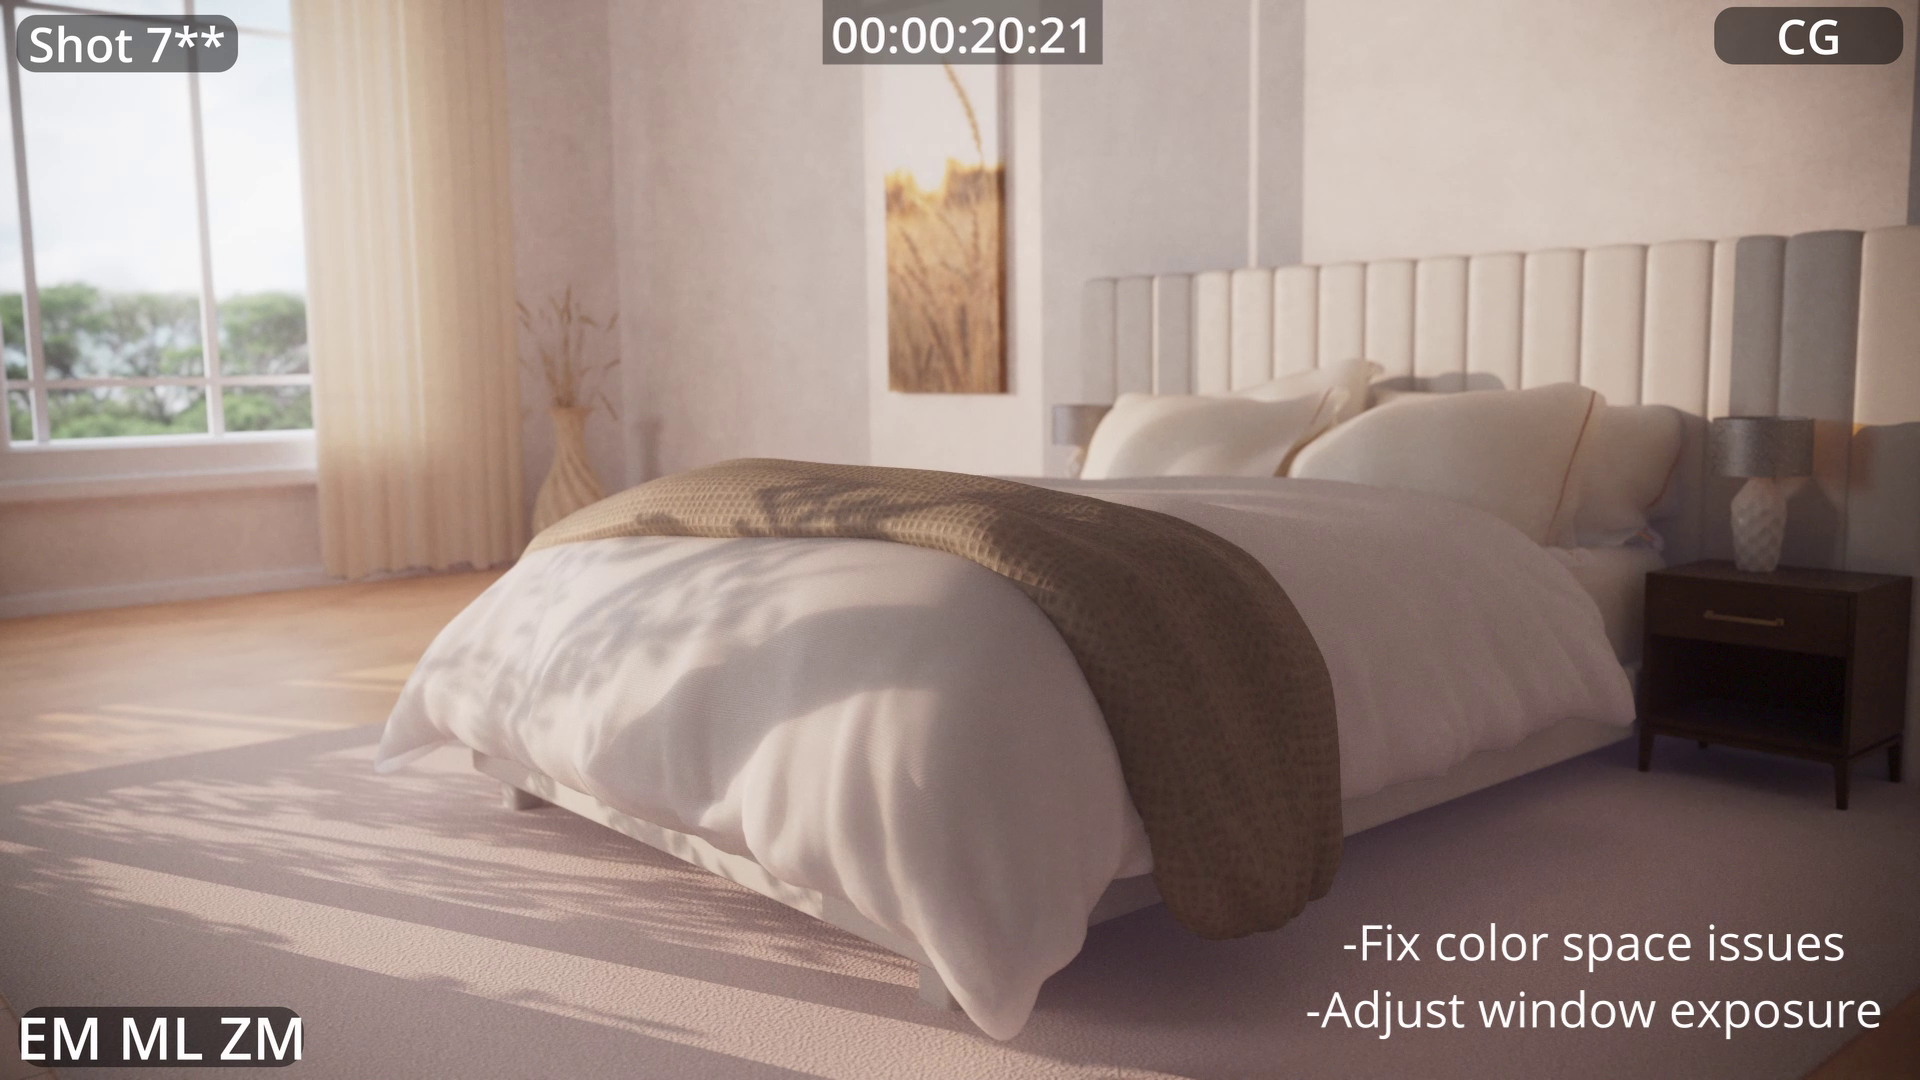
On the comp specific side, Kyle noted that the window in shot 7 was quite dark when in reality it should be the most exposed part of the image. This falls on to me because our sky is added in comp. I was able to raise the exposure to something that better fit our newer renders. On top of that was a note that the sky was too out of focus compared to the rest of the scene, so i turned down my de-focus.
Before
After
For some of the shots, we have been having render and color-space issues that we can hopefully fix this weekend. Last week we talked as a group and I asked for specific AOVs to be separated by each light which for most of our shots are a key light, a fill light, and an environment light. It seems something happened with our files this week that caused the fill light in both shots 5B and 6 to not be rendered as complete black despite contributing to the beauty pass. My guess as to what is causing it is probably a change in the light name as we continue to organize our projects, causing Maya to not read the light in the AOV anymore.
Beauty Render
Shader Rebuild
This was the big week to really test the live action and see if it would work. Spoiler : we are looking to pivot as we discussed, but I still want to walk through the steps I did take before making the final decision.
Plate Photography
Test comp (no shadows)
For a while we have known that this was a lot to do in our time frame so I don’t think any of us are really let down by cutting this portion. All in all I am still quite happy to have gone in this direction it sort of forced us to work within the limits of what we could actually shoot. I was also able to experiment with some AI roto tools that gave a pretty good result for the amount of time it took. This process involved using 2 tools from Cattery , VitMatte and Background matting. Using this process I was able to feed a clean plate of our shot into background matting. Which gave me a rough result. I then fed that image into VitMatte which brought back some of the edge detail that was removed.
Node setup
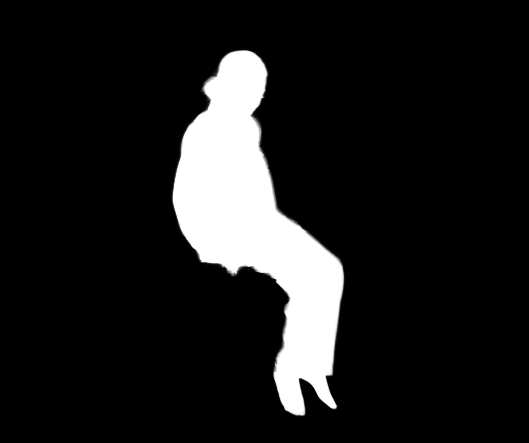
Alpha generated, this remained stable through the shot.
I have continued to play with lens flares in my spare time. I am still very cautious with the inclusion, so that is something I would like to talk with the mentors about. I have full control over all aspects of these.
This is the one I have been using in shot 7
Slightly different variation, plays around with some anamorphic characteristics.
This one replicates the flare of my personal camera lens, not really for this project but nice to have.